

Overview
Access to SIBS Backoffice is controlled through role-based user profiles.
Each user account is associated with one or more merchants and is granted permissions according to the assigned profile. These permissions determine which menus, operational actions, configuration areas, and reporting functionalities are available within the platform.
The availability of specific features also depends on the services enabled for the merchant.
User Profiles
SIBS Backoffice supports the following user profiles:
- Owner
- Administrator
- Manager
- Supervisor
- Operator
- Analytics
- QR Code Manager
Each profile provides a predefined set of permissions that determine the menus, operational actions, configuration areas, reporting capabilities, and administrative functions available within the platform.
Depending on the assigned profile, access may be granted at different organizational levels, including merchant groups, stores, and terminals.
The scope associated with each profile determines which operational data, transactions, reporting information, and configuration areas are visible within the Backoffice.
Depending on the merchant configuration and enabled services, users may have access to transaction management, reporting, user administration, terminal management, payment gateway services, and other Backoffice features.
Profile Permissions and Access Scope Matrix
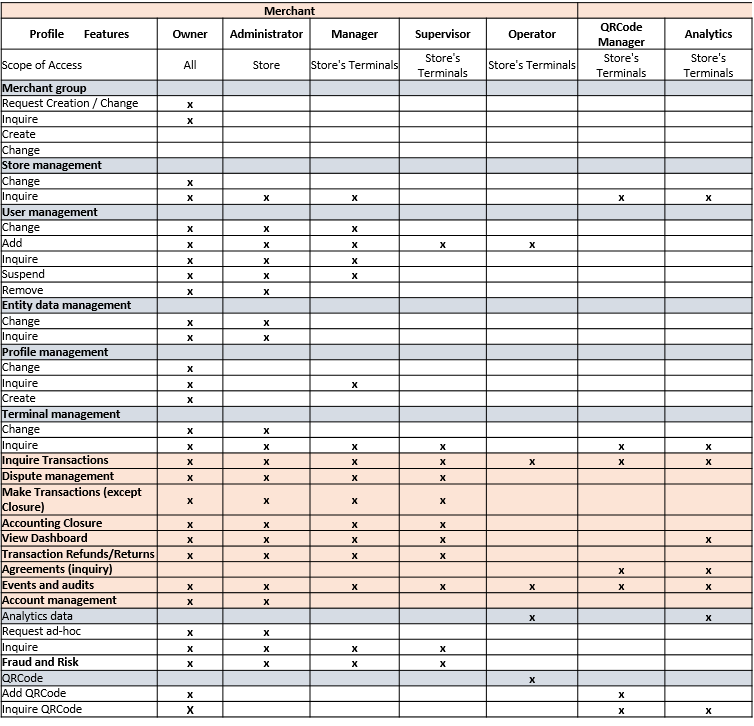
Figure 1 – SIBS Backoffice Profiles and access
The following matrix summarizes the permissions associated with each Backoffice profile.
Permissions may vary depending on the services enabled for the merchant and the operational configuration of the Backoffice environment.
The matrix should be used as a general reference for profile capabilities and access scopes.
Authentication
Authentication allows registered users to securely access the SIBS Backoffice platform according to the permissions assigned to their user profile.
Users access SIBS Backoffice through the platform login page using their registered e-mail address and password.
Before signing in, ensure you have:
- An active SIBS Backoffice user account.
- A registered e-mail address.
- A valid password.
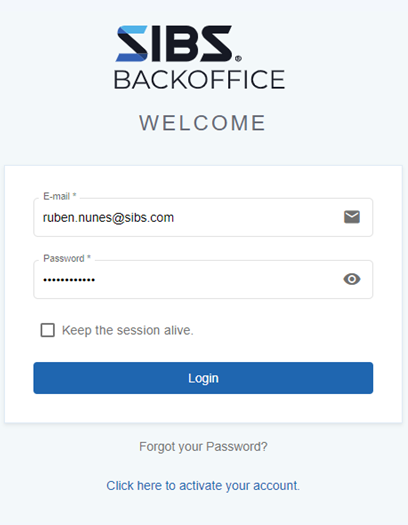
Figure 2 – SIBS Backoffice Login page
To start a session:
Step 1. Open the SIBS Backoffice login page.
Step 2. Enter the registered e-mail address.
Step 3. Enter the password.
Step 4. Optionally select “Keep the session alive” to remain authenticated on the current device until signing out.
Step 5. Click “Login”.
After successful authentication, users are redirected to the Backoffice dashboard, where the available menus and functionalities are determined by the assigned user profile and the merchant services enabled for the account.
Depending on the account configuration and applicable security requirements, additional validation steps may be required during the authentication process.
First Login
When a new user account is created, a temporary password is generated for the user.
During the first authentication, this temporary password must be replaced with a personal password before access to the Backoffice is granted.
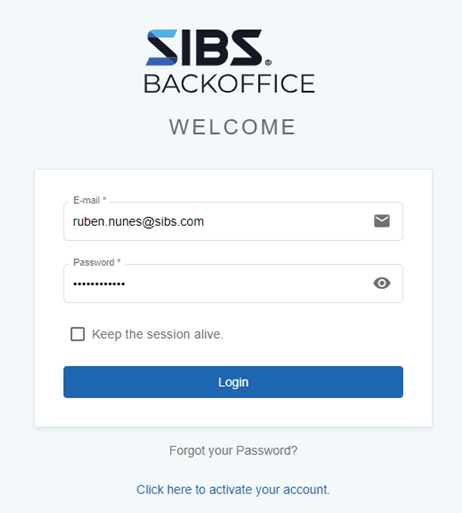
Figure 3 – First login to SIBS Backoffice
To complete the first login:
Step 1. Open the SIBS Backoffice login page.
Step 2. Enter the registered e-mail address.
Step 3. Enter the temporary password.
Step 4. Click “Login”.
Step 5. When prompted, define a new password.
Step 6. Confirm the new password.
Step 7. Complete the password change process.
The new password must:
- Contain at least seven characters.
- Include at least three of the following character groups:
- Uppercase letters
- Lowercase letters
- Numbers
- Special characters.
After the password has been successfully changed, the temporary password is no longer valid and subsequent authentications must use the newly defined password.
Merchant Activation
Merchant Activation is the process that enables users associated with a newly created merchant account to access the SIBS Backoffice platform for the first time.
Before users can authenticate for the first time, the merchant account must be activated using the activation information provided during the onboarding process.
Before starting the activation process, ensure you have:
- The registered e-mail address.
- The activation code received by e-mail (valid for a limited period).
- The definition of a new password.
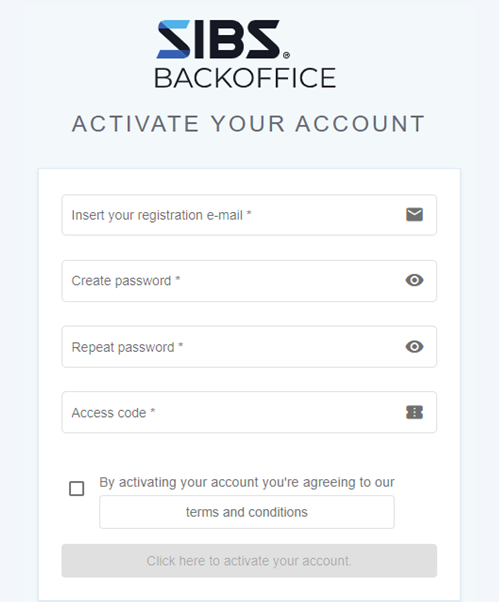
Figure 5 – Credentials to activate the account
To activate a merchant account:
Step 1. Open the SIBS Backoffice login page
Step 2. Select “Click here to activate your account”
Step 3. Enter the registered e-mail address
Step 4. Define a new password
Step 5. Confirm the password
Step 6. Enter the activation code received by e-mail
Step 7. Review the applicable Terms and Conditions
Step 8. Accept the Terms and Conditions
Step 9. Complete the activation process
After successful activation, the merchant account becomes available for user authentication through the standard Backoffice login page.
Password Recovery
Password Recovery allows users to regain access to their SIBS Backoffice account when the current password is no longer available.
To protect the account against unauthorized access, the recovery process verifies the identity of the user before allowing a new password to be defined.
The following steps illustrate the complete recovery process.
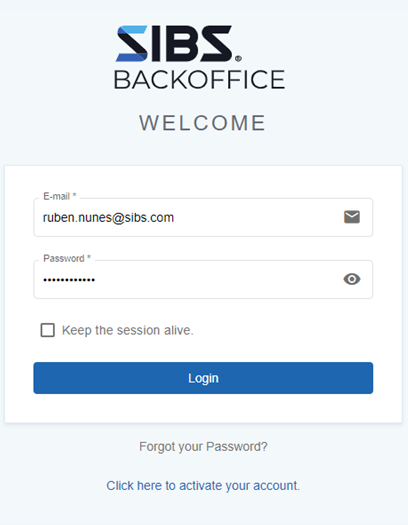
Step 1. On the login page, select “Forgot your Password?”
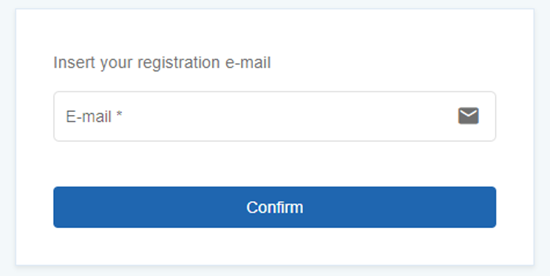
Step 2. Enter the registered e-mail address
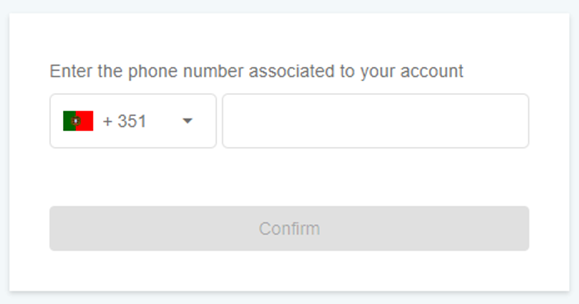
Step 3. Confirm the mobile phone number associated with the account
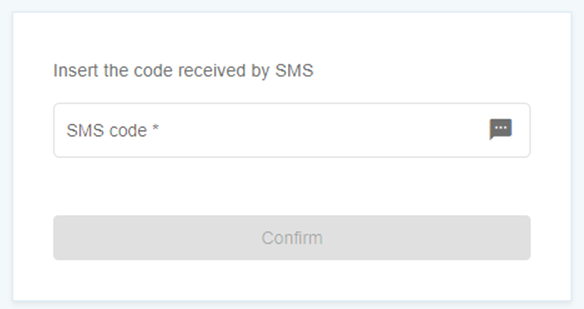
Step 4. Enter the verification code received by SMS
Step 5. Define a new password
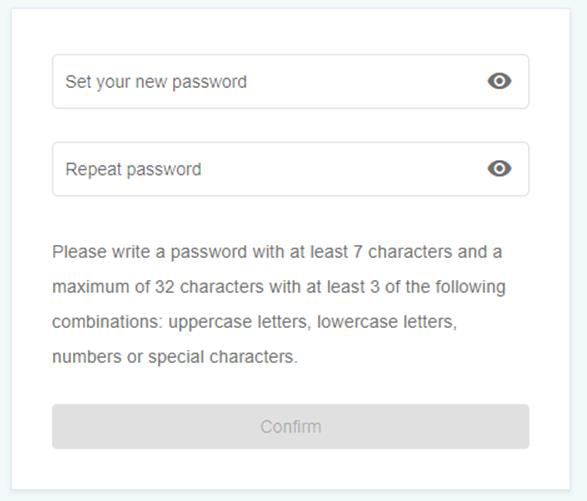
Once the process is completed, the user can authenticate using the newly defined password.
Merchant Selection
Users may be associated with one or more merchants within the SIBS Backoffice platform.
When a user has access to multiple merchants, the active merchant context determines which transactions, configuration areas, reporting information, and operational functions are available during the current session.
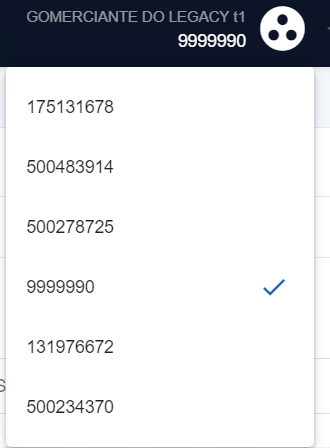
Figure 6 – Merchant Selection
To select a merchant:
Step 1. Open the Profile menu.
Step 2. Review the list of available merchants.
Step 3. Select the merchant to be used during the current Backoffice session.
The selected merchant remains active for the current session until another merchant is selected or the user signs out.
The available functionalities, data visibility, and operational capabilities are determined by both the selected merchant and the permissions assigned to the user profile.
Security Considerations
Access to SIBS Backoffice is protected through authenticated user accounts and role-based permissions.
Administrative actions, configuration changes, and operational functions are restricted according to the permissions assigned to each profile.
Users should ensure that account credentials remain confidential and that access is granted only to authorized personnel.